The Challenge
When I am faced with something new to learn, I try and one things: identify the foundational items and then build up from there. This does tend to be a slow but once a good foundation is in place, then you can learn more from there. The way I visualise this is a good foundation means you can build a very high building on top of it. I find the second part is often a lot quicker.
With digital drawing and illustrating, the problem as I wasn’t sure what were the foundational items for digital drawing; then trying to understand what it takes to draw digitally, break it down into targets or steps to build that foundation and speed up the learning curve.
Firstly, after watching way too many videos, I think the steps can be broken down in a way that reflects the layers that are used:
– Layer 1 – initial sketch
– Layer 2 – inking: drawing the final lines and particular to illustrating
– Layer 3 – colour: picking the palette and putting down the base colours
– Layer 4 – values: adding depth via tones
– Layer 5 – highlights: the very bright bits
– Layer 6 – other: this is when you take the overall drawing and change its lighting, tone, texture etc as a whole.
This is not a fixed sequence and I noticed some people doing things in a slightly different order. But I plan on doing it this way until I find another way. I suspect the more complicated a drawing this sequence is applied to different parts of the drawing.
The next challenge was to work out the steps or targets but I did some drawings first just to see what it was like.
The first attempts
Then I tried to mimic the traditional approach ie using a reference image and copying it with a different range of images.
Firstly, I followed the advice of a youtuber, who suggested drawing lines and circles to get used the pen and teach yourself thick and thin lines based on pressure. However, that was super boring and soon wandered.

Then I tried to mimic the traditional approach ie using a reference image and copying it but importing it as a layer.
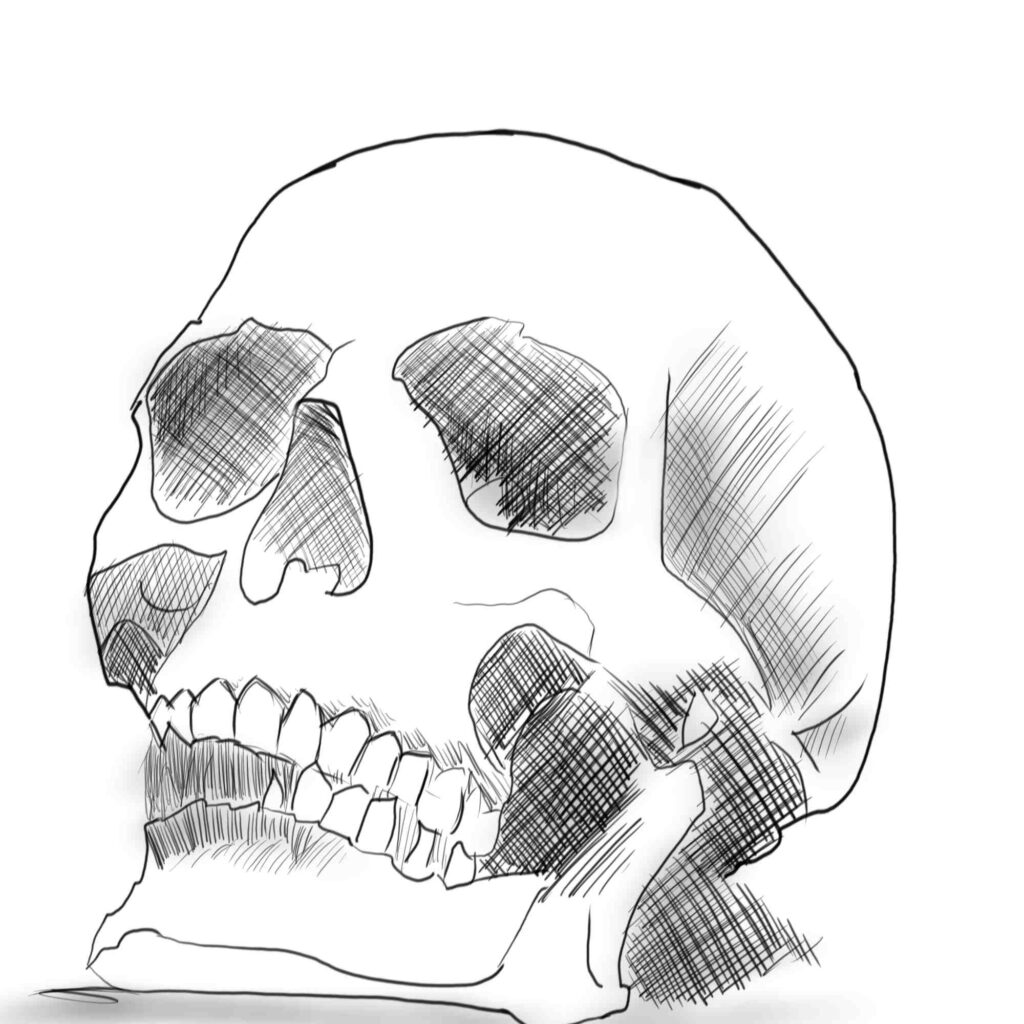
I drew a vase then a skull which was ok but in reality the strength of these is the values rather than the lines.

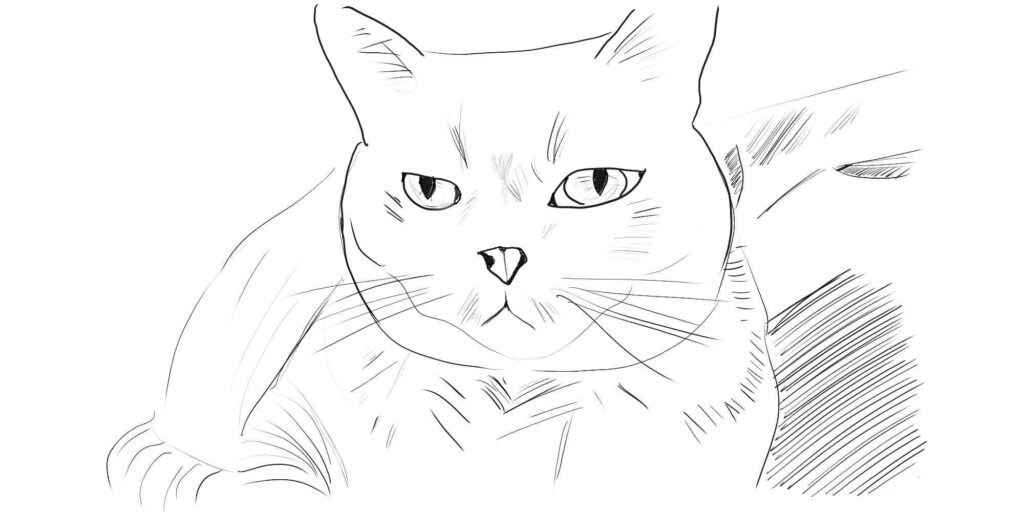
I drew a cat which was fun – I felt that I was simply doing what I’d been doing with a pencil but on the screen. It didn’t really generate the need to learn other tools except possibly the variables of the pencil itself.
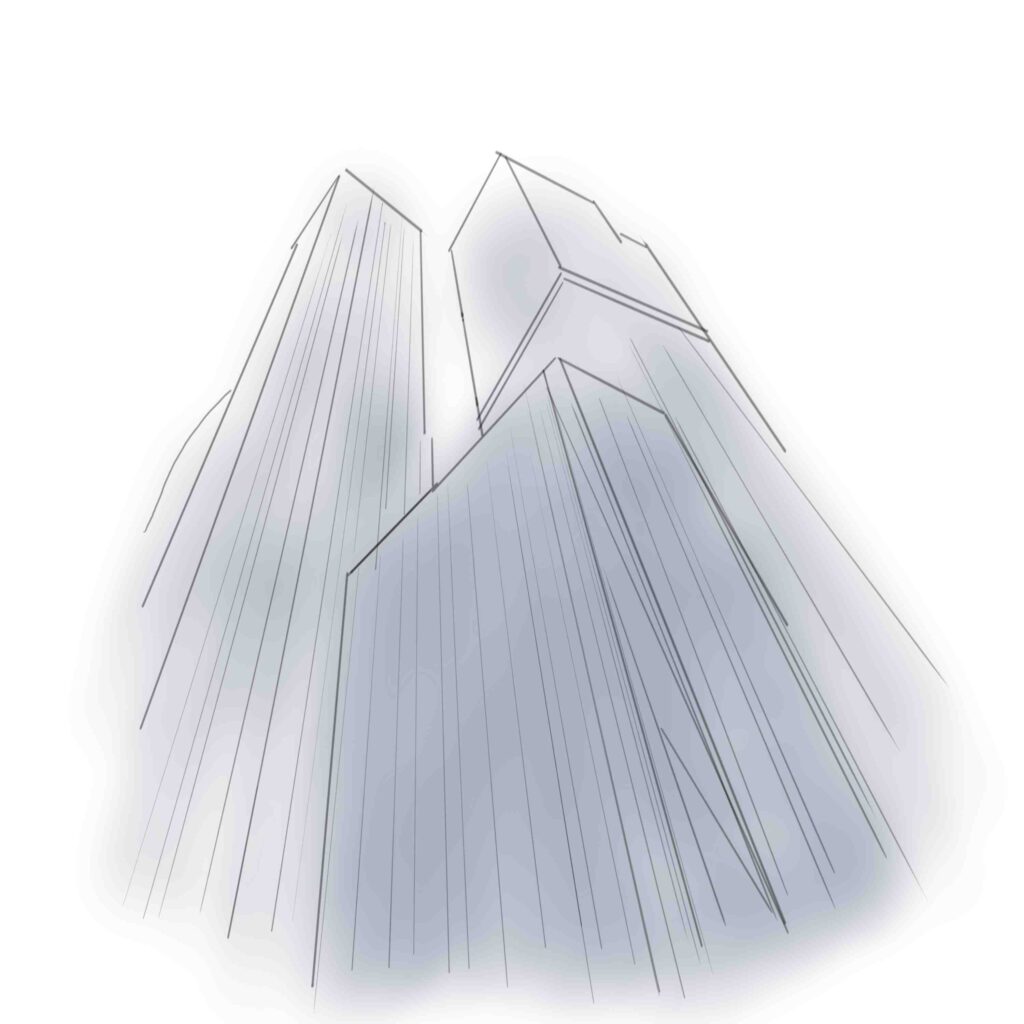
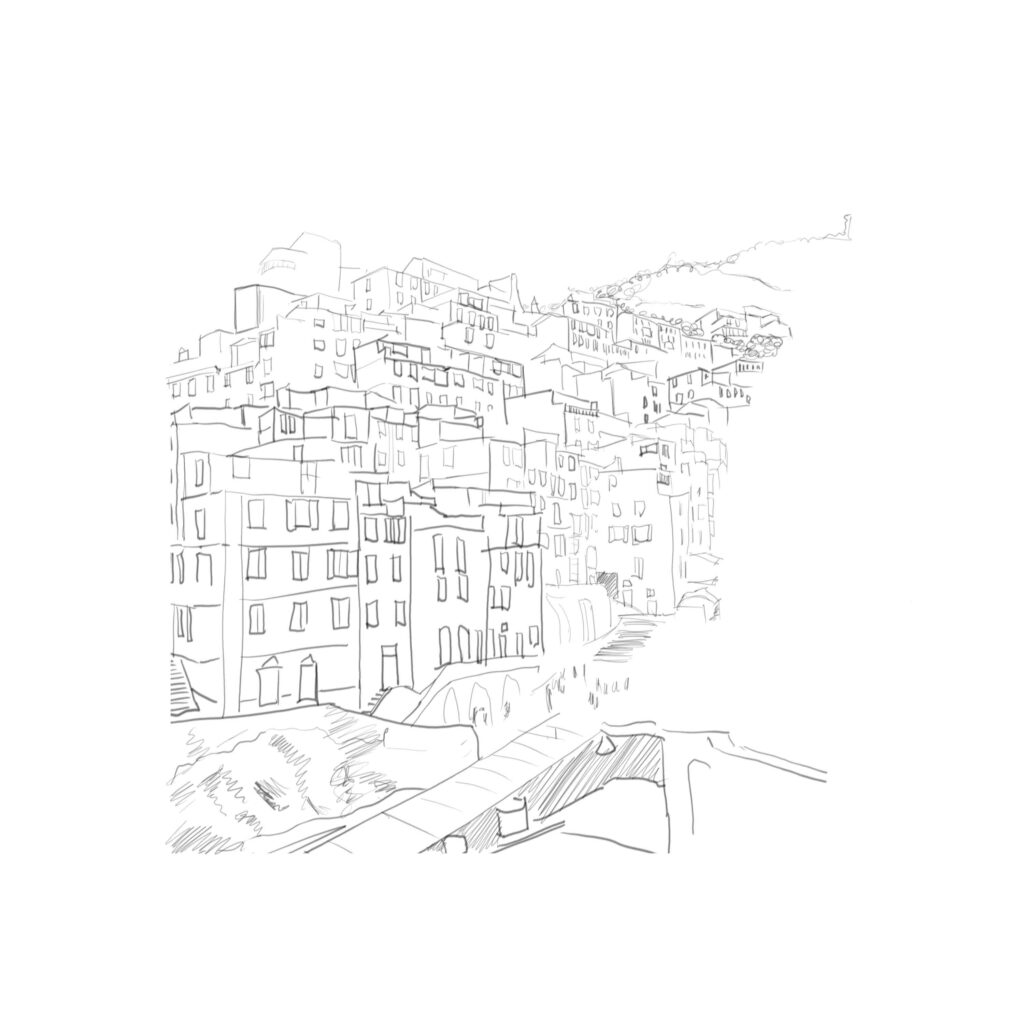
I then tried to draw a building and that was better re tools ie using a ruler and perspective but boring in terms of the end product. I tried a more detailed scene which involved lots of building and shapes. That was probably the best for lines though limited in terms of different tools.
Conclusions
My overall conclusion was drawing almost anything is good to get used to the pen and pen display but what you draw will determine the range of tools you need to use. Apologies if this seems obvious – it wasn’t to me!
The first target and primary focus has to be learning the pen using only the very basic or bare minimum of tools of Sketchbook Pro.
I figured that this would start to build that muscle memory for the pen. After which I should transition to more complicated drawings and use of a greater range of tools.
May 2022
